How to Print PDF Sewing Patterns: A Comprehensive Guide (Updated 03/06/2026)

Navigating the world of digital sewing requires mastering PDF pattern printing. Automated scripts simplify tiling large formats, while finding the right pattern is key for success.
Understanding PDF Sewing Patterns
PDF sewing patterns have revolutionized garment construction, offering convenience and accessibility. Unlike traditional paper patterns, these digital files require a printer and some assembly. They typically come as multi-page documents, often including various sizes layered within a single file.
Understanding these layers is crucial; you’ll only print the size you need, saving paper and ink. Many patterns also contain detailed instructions, cutting layouts, and helpful diagrams. Before printing, familiarize yourself with the pattern’s specific format and terminology.
Retailers offer a diverse range, from beginner-friendly designs to complex, advanced projects. Recognizing the pattern’s complexity will help you prepare for the printing and assembly process. Always check for a test square to verify your printer’s scale accuracy before committing to the full print.
Essential Equipment for Printing
Successfully printing PDF sewing patterns requires more than just a printer. While most modern inkjet or laser printers are capable, certain features enhance the process. A reliable printer with consistent output is paramount, ensuring accurate pattern pieces.
Beyond the printer, consider paper quality. Lightweight paper may tear easily during cutting, while heavier weight paper provides durability. A large format printer (A3 or A0) minimizes tiling, but isn’t essential.
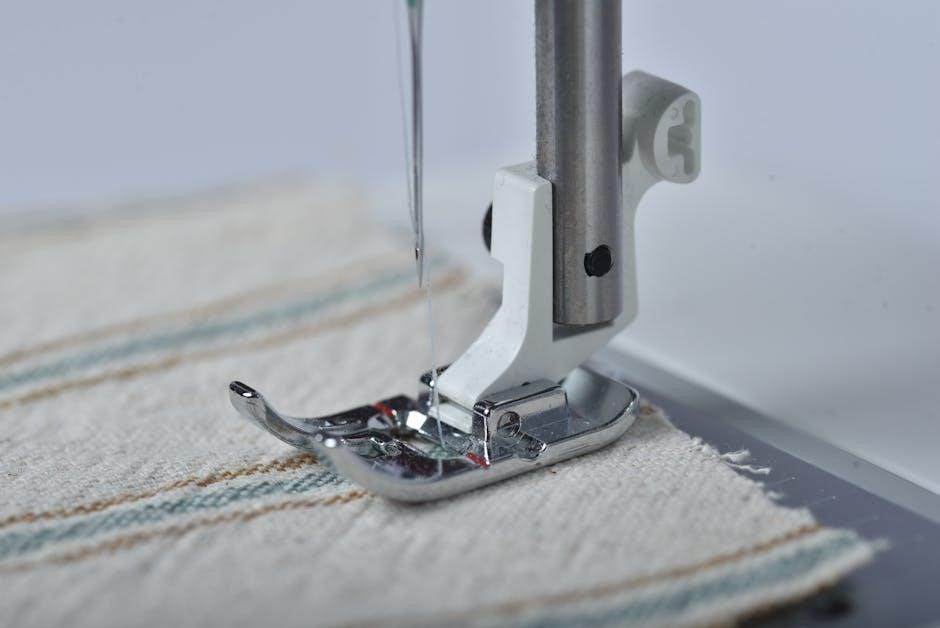
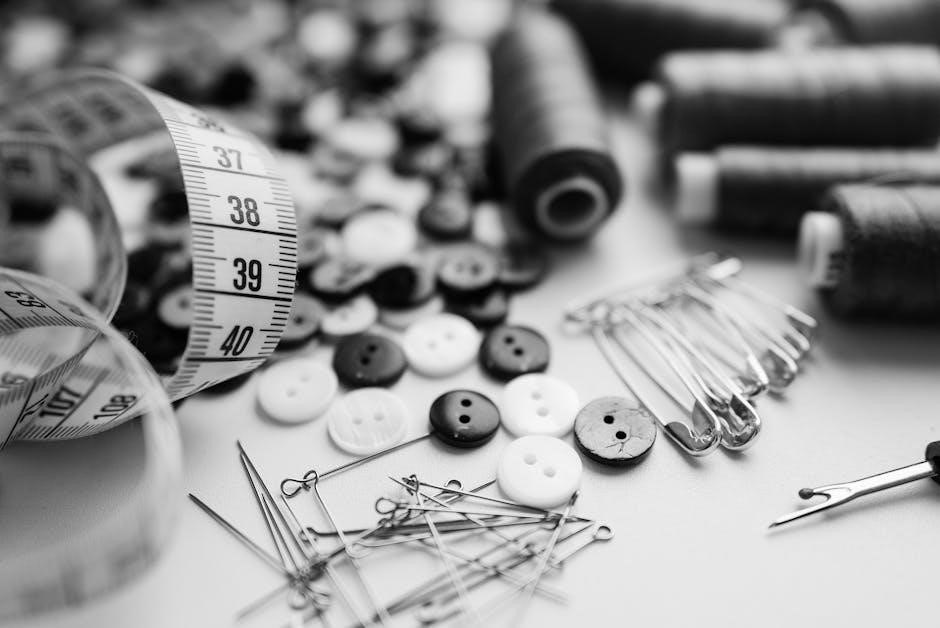
Essential tools include clear tape for assembling the printed pages, a ruler or measuring tape for accuracy, and potentially a cutting mat and rotary cutter for precise pattern piece extraction. Investing in these basics streamlines the entire process, leading to better sewing results.
Printer Type & Capabilities
Inkjet and laser printers both work for PDF sewing patterns, but offer different strengths. Inkjet printers excel at vibrant color reproduction, useful if your pattern includes shaded lines or design elements. However, ink can sometimes bleed, potentially affecting accuracy.
Laser printers, conversely, produce crisp, sharp lines and are less prone to smudging, making them ideal for precise pattern cutting. Consider your printing volume; laser printers are generally more cost-effective for frequent use.
Crucially, ensure your printer supports borderless printing or allows for sufficient margins to accommodate pattern markings. A printer capable of handling heavier weight paper is also beneficial for pattern durability. Check your printer’s specifications for supported paper types and weights.
Paper Selection: Weight and Size
Choosing the right paper is vital for a successful print. Standard printer paper (20lb/75gsm) is often too thin for repeated use and cutting. A heavier weight, such as 24lb/90gsm or 28lb/105gsm, provides greater durability and prevents tearing during handling.
Regarding size, the PDF pattern dictates the necessary sheet size. Letter size (8.5″ x 11″) and A4 (210mm x 297mm) are common, but larger patterns may require A3 (297mm x 420mm) or even A0 (841mm x 1189mm) for single-piece printing.
If tiling (printing across multiple pages), standard letter or A4 is usually sufficient. Consider the cost of larger format paper; it can be significantly higher. Always test print on a single sheet of your chosen paper to ensure compatibility and print quality.
Preparing Your PDF Sewing Pattern for Printing
Before hitting print, careful preparation ensures accuracy. Begin by thoroughly checking the pattern layout within the PDF. Many patterns include multiple sizes layered on top of each other; select only the size you intend to cut. This prevents confusion and wasted paper.
Crucially, always consult the pattern’s specific instructions. Designers often provide unique guidance regarding printing settings, tiling methods, or required registration marks. Ignoring these instructions can lead to significant errors in garment construction.
Familiarize yourself with any included test squares – printing one confirms your printer’s scale accuracy. Properly preparing the PDF minimizes frustration and maximizes the chances of a perfectly printed pattern.
Checking Pattern Layout & Layers
PDF sewing patterns frequently contain multiple sizes within a single file. Before printing, meticulously examine the pattern’s layer visibility settings. Most PDF viewers (like Adobe Acrobat) allow you to toggle layers on or off. Ensure only your chosen size is visible; hiding all others prevents unnecessary ink usage and confusing lines during cutting.
Pay close attention to the pattern’s layout pages. Some patterns are designed for specific paper sizes or tiling methods. Verify the document includes all necessary pages and that they are in the correct order. A quick scan confirms all pattern pieces are present and legible before committing to a full print run.
Utilizing Pattern-Specific Instructions
Each PDF sewing pattern often comes with unique printing instructions from the designer. These are crucial for achieving accurate results. Don’t assume all patterns print the same way! Locate and carefully read the “ReadMe” or “Printing Instructions” file included with your download.
These instructions will detail specific scaling requirements, preferred paper sizes, and tiling recommendations. Some designers provide pre-configured print settings or specialized tiling guides. Following these guidelines ensures your pattern pieces are correctly sized and aligned. Ignoring them can lead to significant fitting issues in your finished garment. Prioritize the designer’s advice for optimal outcomes.
Printing Options & Settings
Optimizing your printer settings is paramount for accurate PDF sewing pattern reproduction. Scale is the most critical element – always verify it’s set to 100% to avoid resizing. Select the appropriate paper size (Letter, A4, A3, or A0) based on the pattern’s requirements and your printer’s capabilities.
Consider print quality; while “Best” offers sharper lines, “Draft” can suffice for pattern pieces, saving ink. Explore options like “borderless printing” if applicable, but ensure no essential markings are cut off. Test print a single page, including any test squares provided, to confirm accuracy before committing to the entire pattern. Careful setup prevents frustrating errors later.

Scale: Ensuring Accurate Sizing (100% is Crucial!)
Maintaining accurate sizing hinges on printing at 100% scale. Any deviation, even slight, will drastically alter garment dimensions. Before printing, meticulously check your printer settings to confirm “Actual Size” or “100%” is selected – avoid options like “Fit to Page.”
Always utilize any test squares included in the PDF pattern. After printing, measure these squares with a ruler to verify correct scaling. If the square isn’t the specified size, re-print, adjusting the scale setting until accurate. Incorrect scaling is the most common printing error, leading to ill-fitting garments. Prioritize this step for a successful sewing project!

Paper Size Selection (Letter, A4, A3, A0)
PDF sewing patterns accommodate various paper sizes: Letter (8.5 x 11 inches), A4 (210 x 297 mm), A3 (297 x 420 mm), and large-format A0 (841 x 1189 mm). Your pattern’s instructions will specify the recommended size, often based on pattern complexity and piece size.
Letter and A4 are common for home printers, but require tiling for larger patterns. A3 minimizes tiling, while A0 necessitates a wide-format plotter. When selecting, consider your printer capabilities and available space. Automated tiling software and scripts efficiently manage patterns across multiple Letter/A4 pages, adding margins and alignment guides for seamless assembly. Ensure your printer settings match the chosen paper size for accurate printing.
Print Quality Settings (Draft vs. Best)
Choosing the right print quality impacts both clarity and ink consumption. “Draft” mode uses less ink and prints faster, suitable for initial test prints or patterns with simple lines. However, for accurate cutting and detailed markings, “Best” or “High Quality” is crucial.
Higher quality settings render finer lines and sharper details, essential for intricate pattern pieces and precise seam allowances. While consuming more ink, this ensures clean cuts and accurate garment construction. Consider the pattern’s complexity; detailed designs benefit significantly from higher resolution. Always prioritize accuracy over economy when printing pattern pieces – a well-printed pattern saves fabric and frustration in the long run.
Tiling Large Format Patterns
Many PDF sewing patterns, especially for larger garments, exceed standard paper sizes. This necessitates “tiling” – splitting the pattern into multiple pages for printing. Fortunately, several solutions exist to streamline this process.
Automatic tiling software and scripts are readily available, capable of dividing large PNG or PDF files into appropriately sized pages (Letter, A4, A3, or A0) with built-in margins, alignment guides, and even page numbering. These tools often include copyright stamp options. Alternatively, manual tiling is possible, but significantly more time-consuming and prone to errors. Utilizing automated solutions ensures accurate scaling and seamless alignment, simplifying pattern assembly.
Automatic Tiling Software & Scripts
Several software options automate the often-complex task of tiling large-format PDF sewing patterns. These tools intelligently divide the pattern into sections that fit standard paper sizes like Letter or A4, adding crucial features for accurate assembly.
Key functionalities include automatic margin creation, alignment marks, and page numbering. Some scripts also incorporate cut guides and copyright stamps, enhancing usability and protecting pattern designers’ intellectual property. These programs handle the scaling calculations, minimizing errors. Popular choices often support multiple paper sizes (A0, A3, Tabloid) and offer customizable settings. Utilizing these tools significantly reduces printing time and ensures a precise, well-organized pattern layout, simplifying the sewing process.
Manual Tiling Techniques
While software simplifies tiling, manual techniques remain viable, especially without access to specialized tools. This involves printing the PDF pattern in “Poster” or “Tile” mode, available in most printer settings. Carefully examine the PDF to understand how it’s divided into tiles before printing.
Accurately aligning these printed tiles is crucial. Look for overlapping sections or registration marks provided by the pattern designer. Precisely match these marks when taping the pages together, ensuring a seamless pattern layout. This method requires patience and attention to detail. It’s vital to maintain consistent margins and avoid stretching or distorting the pattern during assembly. Manual tiling is a good option for occasional projects or when dealing with older patterns lacking automated tiling support.

Assembling Your Printed Pattern
Once all pattern pieces are printed, the assembly process begins. This crucial step demands precision to ensure accurate garment construction. Begin by carefully laying out the printed tiles in the correct order, referencing the pattern instructions or any accompanying layout sheets.
Matching registration marks is paramount. These small symbols, often found at the corners of each tile, guarantee proper alignment. Securely tape the pattern pieces together using clear tape, applying it along the edges where tiles join. Avoid overlapping tape onto the pattern lines themselves. Double-check alignment after each section is taped, and reinforce seams for durability. A well-assembled pattern is the foundation for a successful sewing project.
Matching Registration Marks
Registration marks are the cornerstone of accurate pattern assembly. These small, strategically placed symbols – often squares, circles, or crosses – are printed on each tile of a tiled PDF pattern. Their purpose is to provide precise alignment points when joining the printed sheets together.
Carefully align each tile, focusing on perfectly matching the registration marks before taping. Slight discrepancies can accumulate, leading to inaccurate pattern pieces. Use a bright, well-lit workspace to clearly see the marks. If marks are faint, gently enhance them with a pencil. Prioritize accuracy over speed; meticulous alignment ensures your garment will fit as intended. Consistent matching of these marks is vital for a professional finish.

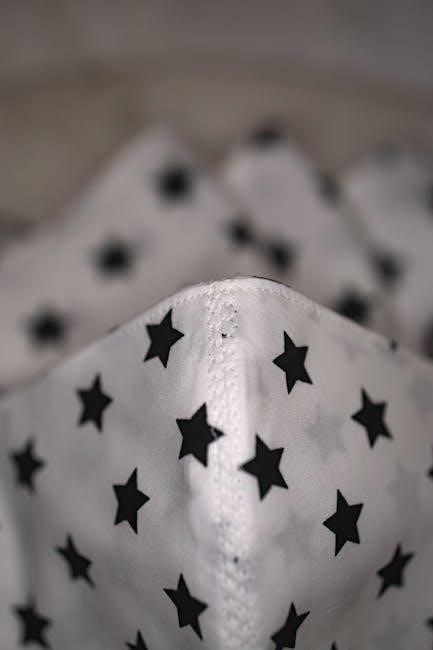
Securely Taping Pattern Pieces Together
Once registration marks are aligned, secure the pattern pieces with tape. Opt for a low-tack tape – washi tape or painter’s tape are excellent choices – to avoid damaging the paper or leaving residue. Apply tape along all edges where tiles meet, creating a strong and continuous line.
Avoid overlapping tape onto the pattern lines themselves; precision is paramount. Ensure the tape lies flat, smoothing out any bubbles or wrinkles. For larger patterns, consider reinforcing corners with extra tape. A well-taped pattern is durable and prevents shifting during cutting. Double-check all seams to guarantee a seamless and accurate pattern assembly, ready for tracing or cutting.
Cutting Guides & Margins
Many PDF patterns include cutting guides and margins for accurate fabric cutting. These are often printed directly onto the tiled pattern pages, providing clear lines to follow. Pay close attention to grainline markings, which are crucial for garment construction. Margins typically allow for seam allowances and ease of handling;
If your pattern lacks these features, consider adding them manually before cutting. A standard seam allowance is 5/8 inch, but check the pattern instructions. Use a ruler and marking tool to draw consistent margins around each pattern piece. Accurate cutting is fundamental to a well-fitting finished product, so take your time and prioritize precision.
Troubleshooting Common Printing Issues
Incorrect scale is a frequent problem; always verify 100% scaling in your print settings. If pieces appear too large or small, double-check your printer settings and reprint the test square. Misalignment often occurs during tiling. Carefully match registration marks on each page before taping, ensuring a seamless pattern layout.
If pattern pieces still don’t align, review the tiling software or manual instructions. Sometimes, slight adjustments are needed. Printer inconsistencies can also cause issues; try a different printer or update your printer drivers. Remember to print a test page before committing to the entire pattern to avoid wasted paper and frustration.
Incorrect Scale & Sizing Problems
Scaling errors are the most common issue when printing PDF sewing patterns. Always, and we mean always, ensure your printer settings are set to 100% or “Actual Size” – not “Fit to Page.” A test square, usually included in the PDF, is crucial. Measure this square after printing; it should match the dimensions stated on the pattern.
If the test square is incorrect, the entire pattern will be off. Re-check your printer settings, and consider trying a different PDF viewer. Some viewers may override printer settings. Consistent sizing is vital for garment construction, so accurate scaling is non-negotiable. Ignoring this step can lead to ill-fitting results and wasted fabric.
Pattern Pieces Not Aligning Correctly
Misalignment during tiling is frustrating, but often solvable. Carefully examine the registration marks – those small targets printed on each tiled page. These are your guides for accurate assembly. Ensure your printer isn’t shifting the pattern slightly with each page; this can happen with older printers or incorrect paper handling.
Slow and precise taping is key. Overlap the registration marks perfectly before securing with tape. A clear ruler helps maintain alignment. If significant gaps remain, double-check your initial print settings and consider re-printing the affected pages. Patient assembly is crucial for a seamless pattern, avoiding errors in cutting and sewing.

Where to Find Reliable PDF Sewing Patterns
The internet offers a vast selection of PDF sewing patterns, but quality varies. Established online retailers like Etsy, LoveCrafts, and independent designer websites are excellent starting points. Look for patterns with clear instructions, well-defined diagrams, and positive customer reviews; Many designers offer beginner-friendly options alongside advanced projects.
Pattern websites often categorize patterns by skill level, garment type, and size range, simplifying your search. Consider joining online sewing communities and forums for recommendations. Reputable pattern designers frequently test their patterns thoroughly, minimizing errors and ensuring a satisfying sewing experience. Always check the pattern’s terms of use before purchasing.
Copyright & Usage Considerations
PDF sewing patterns are intellectual property, protected by copyright law. Purchasing a pattern grants you a license to use it for personal sewing projects, not to redistribute or resell the pattern itself. Sharing PDF files, even with friends, is a copyright violation and undermines designers’ livelihoods.
Commercial use, such as producing garments for sale, typically requires a separate commercial license purchased directly from the pattern designer. Always review the pattern’s terms of use to understand permitted usage; Respecting copyright ensures designers can continue creating new and innovative patterns. Supporting independent designers fosters a thriving sewing community.
Leave a Reply
You must be logged in to post a comment.