Welcome to the Heelys Size Guide! Heelys are a perfect combination of style and functionality, designed for both skilled skaters and casual users. This guide helps ensure optimal comfort and performance by providing detailed sizing information to find your perfect fit.
What Are Heelys and Why Proper Sizing Matters
Heelys are innovative footwear featuring wheels embedded in the heels, offering a unique blend of style and functionality. They cater to both casual users and experienced skaters, providing an enjoyable rolling experience. Proper sizing is crucial for comfort, safety, and optimal performance. Ill-fitting Heelys can lead to discomfort, reduced control, and potential injuries. Ensuring the right fit guarantees a secure, enjoyable experience, allowing users to skate confidently and effortlessly. Sizing affects both comfort and control, making it essential for a positive Heelys experience.
Understanding Heelys Fit
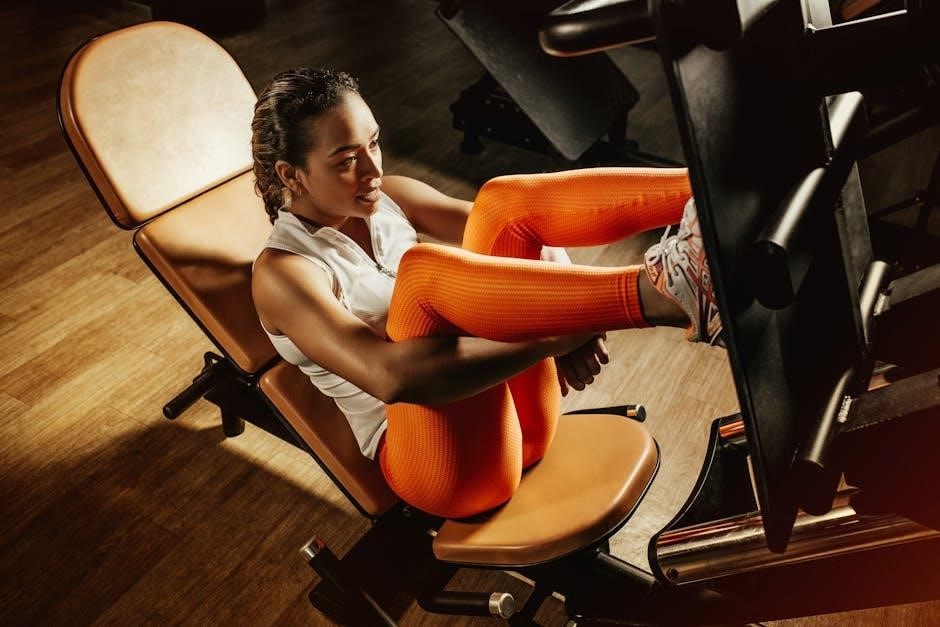
Heelys are designed for a snug, comfortable fit around the heel and midfoot, ensuring stability and control while skating. Proper fit enhances performance and comfort, making every glide smooth and enjoyable. Medium width ensures a universal, stylish fit for most users, while the secure design allows for precise movement and confidence on wheels. Achieving the right fit is key to maximizing the Heelys experience, blending style with functionality seamlessly.
How Heelys Sizes Compare to Regular Shoes
Heelys sizes typically run true to size but may feel slightly smaller due to their snug fit design. Compared to regular shoes, Heelys are designed to provide a secure, stable fit around the heel and midfoot, ensuring better control while skating. The medium width accommodates most foot shapes comfortably. If you’re between sizes, opting for the larger size is recommended to avoid discomfort and ensure a better skating experience. Proper sizing is crucial for optimal performance and comfort.
Importance of Medium Width in Heelys
Heelys are designed with a medium width to ensure a snug, comfortable fit for most foot shapes. This width provides optimal support and control while skating, preventing excessive movement that could cause discomfort or affect performance. The medium width strikes a balance between being too tight and too loose, making it ideal for a wide range of users. Proper fit is essential for enjoying the full benefits of Heelys, whether for casual or advanced skating.

How to Measure Your Foot for Heelys
Measure your foot from the back of the heel to the tip of the longest toe in centimeters for an accurate fit. Use the Heelys size chart as a reference.
Measuring Foot Length for Accurate Sizing
Accurate foot length measurement is essential for the perfect Heelys fit. Stand upright and measure from the back of the heel to the tip of the longest toe using a ruler or measuring device. Ensure your foot is flat on the ground for precise results. Measure both feet, as they may differ, and use the longer measurement to ensure comfort. This step ensures your Heelys size matches your foot length perfectly, avoiding discomfort or tightness.
Using the Heelys Size Chart Effectively
Referencing the Heelys size chart is crucial for a proper fit. Start by measuring your foot length and width, then compare it to the chart. Heelys sizes are designed to run true to slightly small, so if you’re between sizes, choose the larger option. Ensure to account for medium width and whole sizes only. Use the chart to determine your ideal size, ensuring comfort and performance. Always double-check measurements for accuracy.

Choosing the Right Heelys Size
For the best fit, select a size that aligns with your foot measurements. If between sizes, opt for the larger option to ensure comfort and performance.
What to Do If You’re Between Sizes
If you find yourself between sizes, Heelys recommends choosing the larger size for optimal comfort and performance. This ensures a snug fit without tightness, allowing better movement and reducing discomfort during skating. Opting for the larger size is especially important for activities that require flexibility and support. Always consider the width and length measurements from the size chart to make an informed decision. Your comfort and skating experience will benefit from selecting the right fit.
Why Choosing the Larger Size is Recommended
Choosing the larger size is recommended because Heelys tend to run true to slightly small. Opting for the larger size ensures a comfortable fit, preventing tightness and discomfort while skating. This allows for better movement and support, enhancing your overall skating experience. A snug fit is crucial, and selecting the larger size helps achieve this balance, ensuring your Heelys feel great and perform well during any activity.

Comfort and Fit Tips
Ensure a snug fit around the heel and midfoot for optimal support. Wear comfortable socks and use the Heelys size chart to achieve the best fit.
Ensuring a Snug Fit Around the Heel and Midfoot
A snug fit around the heel and midfoot is essential for comfort and control. Properly fitted Heelys prevent blisters and ensure stability while skating. Measure your foot accurately, and refer to the size chart to find your ideal fit. Medium width ensures a balanced feel, while tight lacing enhances support. Always try shoes with the same socks you’ll wear for skating to guarantee the best fit and performance.
Wearing the Right Socks for Heelys
Choosing the right socks is crucial for comfort and performance in Heelys. Opt for thin, snug-fitting socks to avoid adding bulk, which could make the fit too tight. Moisture-wicking materials like cotton or synthetic blends are ideal for keeping feet dry during active use. Avoid overly thick socks, as they may restrict movement and cause discomfort. Proper sock choice ensures a better fit and prevents blisters, enhancing your overall skating experience.

Heelys Models and Size Variations
Heelys offers various models, including Classic and Advanced, catering to different skill levels. All models feature medium width and whole sizes, ensuring a consistent fit across the range.
Classic Heelys: A Great All-Around Option
Classic Heelys are perfect for those who have mastered the basics and seek a stylish, comfortable shoe. Designed for versatility, they offer a snug fit around the heel and midfoot, ensuring control while skating. Available in whole sizes with medium width, they provide a balanced fit for everyday use. Whether cruising casually or skating recreationally, Classic Heelys deliver both durability and timeless style.
Advanced Models for Experienced Skaters
Advanced Heelys models are designed for experienced skaters seeking superior performance and durability. These styles offer enhanced support and stability, ideal for aggressive skating or tricks. With features like reinforced materials and responsive designs, they cater to those who demand more from their skates. While sizes generally run true to size, choosing the larger size when between sizes ensures optimal comfort and control during high-intensity skating sessions.

Maintenance and Care for Heelys
Regular cleaning and drying prevent damage. Protect wheels from debris and apply lubrication for smooth rolling. Store in a cool, dry place to maintain quality.
How to Keep Your Heelys in Great Condition
To maintain your Heelys, clean them regularly with a soft cloth and mild soap. Dry thoroughly after exposure to moisture to prevent damage. Protect the wheels from debris and apply lubrication for smooth performance. Store in a cool, dry place away from direct sunlight. Avoid extreme temperatures and harsh chemicals. Regular maintenance ensures durability and optimal functionality. By following these care tips, your Heelys will remain in excellent condition for years of enjoyment.

Troubleshooting Fit Issues
If your Heelys feel too tight, check the size chart and consider going up a size. Ensure a snug fit around the heel and midfoot for comfort.
When to Go Up or Down a Size
If your Heelys feel tight, consider going up a size for comfort. If they feel too loose, opt for a smaller size. Use the size chart to measure foot length accurately. Heelys generally run true to size but may feel slightly small. If between sizes, choose the larger one for a better fit. Medium width ensures a snug yet comfortable fit around the heel and midfoot, preventing discomfort during skating.
How to Adjust to Heelys If They Feel Tight
If your Heelys feel tight, try wearing thinner socks for a more comfortable fit. Break them in gradually by wearing them for short periods. Ensure the heel and midfoot are snug but not restrictive. If tightness persists, consider exchanging for a larger size. Proper fit is crucial for performance and comfort while skating, so don’t hesitate to adjust as needed for optimal results.

Frequently Asked Questions
Have questions about Heelys sizing? This section addresses common concerns, exchange policies, and the best times to purchase, ensuring a smooth shopping experience for Heelys enthusiasts.
Can Heelys Be Exchanged If the Size Is Wrong?
Yes, Heelys can typically be exchanged if the size is incorrect. Most retailers offer exchange policies, allowing you to swap for the correct size. Ensure to check the brand’s return and exchange guidelines for specific details. Proper sizing is crucial for comfort and performance, so don’t hesitate to reach out if your Heelys don’t fit as expected.
What Is the Best Time to Buy Heelys?
The best time to buy Heelys is when you need them, as they are versatile for any season. However, many retailers offer sales during holidays or end-of-season clearance events. Purchasing during these times can provide great value. Additionally, consider buying when new models are released to access the latest features and styles. Always ensure to check sizing guides for the best fit, regardless of when you purchase.
Heelys are perfect for all skill levels. Use the size guide to ensure a perfect fit. Enjoy the combination of style and comfort for a great experience.
Final Tips for Finding the Perfect Fit
For the best Heelys fit, measure your feet accurately and refer to the size chart. If between sizes, opt for the larger one for comfort. Wear the same socks you plan to skate in to ensure a snug yet comfortable fit. Try them on if possible, and don’t hesitate to contact customer support for sizing advice; Proper fit ensures optimal performance and enjoyment. Remember, comfort and support are key to a great Heelys experience.