Fluke 719 100G Pressure Calibrator: A Comprehensive Guide
This guide details the Fluke 719 100G, an electric pressure calibrator featuring a built-in pump for swift testing and calibration of pressure devices․
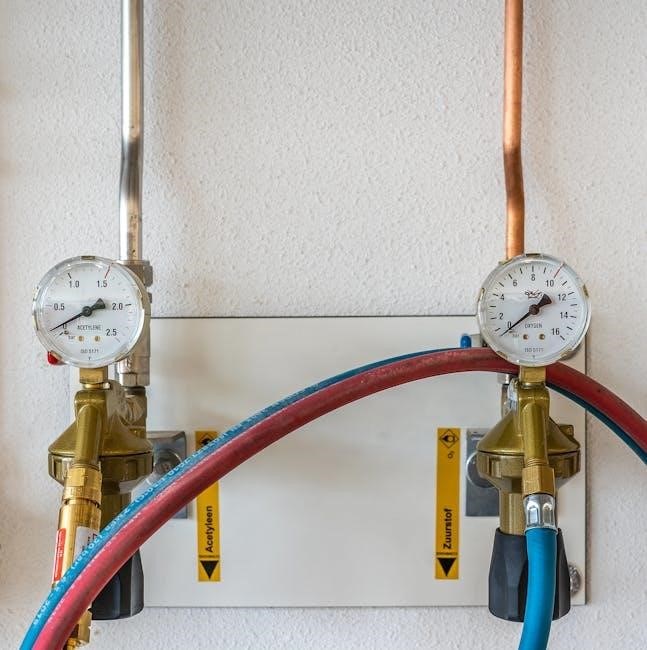
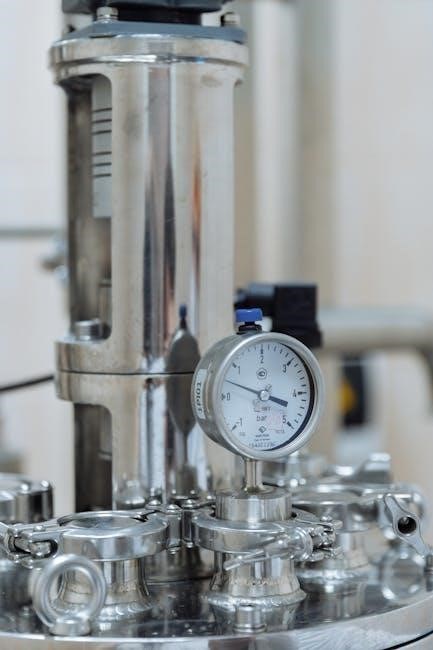
The Fluke 719 100G Electric Pressure Calibrator is a precision instrument designed for the calibration and testing of pressure transmitters and gauges․ This model, capable of measuring up to 100 PSI (7 bar), streamlines workflows with its integrated electric pump, eliminating the need for external pressure sources․ It’s a versatile tool for field service technicians and calibration labs alike․
Included with the 719 100G are essential accessories like TL75 test leads, an AC72 alligator clip set, push-fit connectors, and a translucent test hose․ Documentation is comprehensive, featuring a product overview manual (printed) and a user’s manual available on CD-ROM in 14 languages․ The 719 series offers accuracy of 0․025% of range, with calibration intervals of six months or one year depending on the desired accuracy (0․025% or 0․035%)․
This calibrator simplifies pressure testing and calibration processes, enhancing efficiency and reliability․
Key Features and Benefits
The Fluke 719 100G boasts several key features enhancing calibration efficiency․ Its integrated electric pump provides on-demand pressure generation, removing reliance on external pumps and simplifying field operations․ The 100 PSI (7 bar) pressure range covers a wide array of industrial applications․ Accuracy is a standout benefit, offering 0․025% of range precision, crucial for reliable measurements․
The included accessories – TL75 leads, AC72 clips, connectors, and hose – provide a complete testing solution right out of the box․ Multi-language support via the CD-ROM manual ensures accessibility for diverse teams․ The 719’s user-friendly interface and intuitive operation minimize training time and reduce errors․
Ultimately, the 719 100G delivers increased productivity, improved accuracy, and reduced downtime through streamlined calibration processes;
Technical Specifications
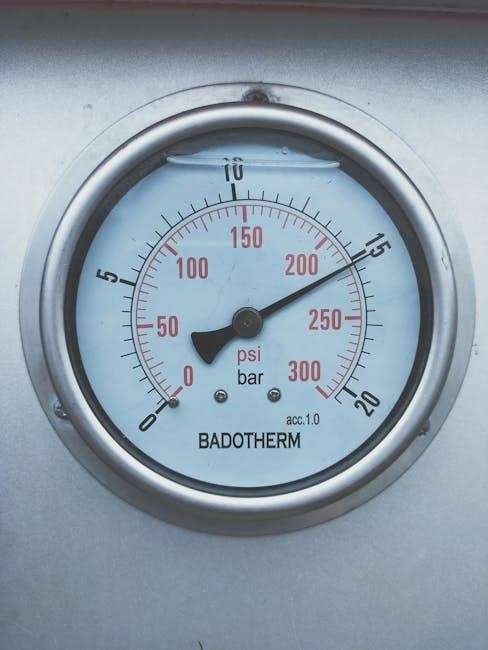
The Fluke 719 100G offers a pressure range up to 100 PSI (7 bar) with notable accuracy, detailed in accompanying documentation and tables․
Pressure Range and Accuracy
The Fluke 719 100G boasts a pressure range extending from -12 to 100 PSI, equivalent to approximately -0․827 to 6․895 bar․ Accuracy is a critical specification, with the 100G model offering an impressive 0․025% of range accuracy․ However, it’s important to note that accuracy is tied to the calibration cycle․
Specifically, with a 6-month calibration interval, the accuracy is stated as 0․025% of range, while extending to a 1-year calibration interval results in an accuracy of 0․035% of range․ The maximum non-destructive pressure is rated at 30G․ These specifications ensure reliable and precise pressure measurements for a variety of applications, demanding consistent performance and traceable results․ Refer to the product documentation for detailed tables outlining accuracy across the entire pressure range․
Resolution Capabilities
The Fluke 719 100G excels in its ability to provide highly granular pressure measurements․ Within its -12 to 30․0 psi range, the instrument achieves a resolution of 0․001 psi․ This fine resolution is crucial for applications requiring precise adjustments and accurate readings of subtle pressure changes․
This level of detail allows technicians to identify even minor deviations from expected values, enhancing diagnostic capabilities and calibration quality․ The resolution directly impacts the ability to detect small leaks or inconsistencies in pressure systems․ While the resolution remains consistent across this range, it’s important to consider the overall accuracy specification in conjunction with resolution to fully understand the measurement uncertainty․ Detailed specifications are available in the user manual for various pressure ranges․
Media Compatibility
The Fluke 719 100G Pressure Calibrator is designed for compatibility with a wide range of pressure media, though careful consideration must be given to ensure optimal performance and longevity of the instrument․ Generally, the calibrator is suitable for use with gases and fluids commonly employed in industrial pressure testing and calibration processes․
However, the manual emphasizes avoiding corrosive materials that could damage internal components․ Specific compatibility depends on the materials of construction of the pressure fittings and hoses used in conjunction with the calibrator․ Users should consult the full documentation and consider the chemical properties of the media being tested to prevent potential damage or inaccurate readings․ Always ensure proper cleaning and drying after use with any fluid media to maintain accuracy and prevent contamination․
Operating the Fluke 719 100G
The Fluke 719 100G utilizes an innovative, built-in electric pump for quick and efficient calibration and testing of various pressure devices․
Powering On and Initial Setup
To begin operation with the Fluke 719 100G, ensure all connections are secure, including the test leads (TL75) and any necessary pressure fittings․ The calibrator can operate on battery power or AC adapter (sold separately)․ Press the power button to initiate startup; the unit will perform a self-test․
Upon powering on, the display will illuminate, and the instrument will default to a pre-configured setting․ Verify the displayed pressure range aligns with your intended application – the 100G model handles up to 100 PSI (7 bar)․
Familiarize yourself with the user interface before proceeding․ The included product overview manual (printed) and the comprehensive user manual (CD-ROM, available in 14 languages) provide detailed instructions․ Initial setup may involve selecting the appropriate pressure units (PSI, bar, etc․) via the menu system․ Always refer to the manual for specific guidance and safety precautions․
Navigating the User Interface
The Fluke 719 100G features an intuitive user interface, primarily controlled via tactile buttons․ The display presents crucial information, including pressure readings, units, and operational mode․ Utilize the arrow keys to scroll through menu options and adjust settings․ The ‘Enter’ or ‘Select’ button confirms selections․
Access the main menu to configure parameters like pressure range, units (PSI, bar, kPa), and measurement mode (pressure source or measurement)․ The interface allows switching between measuring and sourcing pressure using the electric pump․
The manual (provided on CD-ROM in 14 languages and a printed overview) details each menu item and function․ Pay close attention to the help functions within the interface, offering context-sensitive guidance; Understanding the menu structure is key to efficiently utilizing the calibrator’s capabilities for accurate pressure testing and calibration․
Using the Internal Electric Pump
The Fluke 719 100G’s integrated electric pump is a core feature, enabling pressure generation without external sources․ Access pump control through the user interface; options include increasing or decreasing pressure, and initiating automatic routines․ The pump supports both pressure sourcing and vacuum applications․
When sourcing pressure, carefully monitor the display to achieve the desired setpoint․ The pump’s speed can often be adjusted within the menu for precise control․ Remember to consider the pressure range limitations – the 100G model handles up to 100 PSI (7 bar)․
The manual emphasizes proper pump operation to avoid damage․ Avoid rapid or excessive pressure changes․ Regularly check the translucent test hose for leaks or damage․ The pump’s efficiency contributes to faster calibration times and streamlined workflows, making the 719 a versatile tool․
Calibration Procedures
Utilize the Fluke 719 100G for precise calibration of pressure transmitters and gauges, ensuring accuracy through zeroing and span adjustments as needed․
Calibrating Pressure Transmitters
The Fluke 719 100G simplifies pressure transmitter calibration; Begin by connecting the transmitter to the calibrator, ensuring proper electrical connections for power and signal output․ Apply increasing pressure using the internal electric pump, carefully observing the transmitter’s output signal on the 719’s display․
Compare the displayed output to the transmitter’s specified values at various pressure points․ Record any discrepancies; Utilize the 719’s sourcing capabilities to simulate input signals and verify transmitter response․ For accurate results, adhere to a defined calibration procedure, documenting all adjustments and measurements․
Pay close attention to the pressure range – the 100G model handles up to 100 PSI․ Regularly check calibration frequency based on standards and usage, aiming for 6 or 12-month intervals for optimal performance․ Proper calibration ensures reliable process control and measurement․
Calibrating Pressure Gauges
Calibrating pressure gauges with the Fluke 719 100G involves applying known pressures and comparing them to the gauge’s readings․ Connect the gauge to the calibrator’s pressure port, ensuring a secure and leak-free connection․ Utilize the internal electric pump to generate precise pressure levels, gradually increasing from zero to the gauge’s maximum range․
At specific pressure points, record both the pressure displayed on the 719 and the corresponding reading on the gauge being calibrated․ Note any differences, which represent the gauge’s error․ Repeat the process multiple times, both ascending and descending in pressure, to assess hysteresis․
The 719’s accuracy (0․025% of range for 6-month calibration, 0․035% for 1 year) allows for precise gauge verification․ Document all readings and adjustments․ Remember the 100G model supports up to 100 PSI, making it suitable for a wide range of gauges․
Zeroing and Span Adjustments
The Fluke 719 100G allows for precise zero and span adjustments to ensure calibration accuracy․ Begin by verifying the zero point – with no pressure applied, the 719 should read 0․00 psi․ If not, access the calibration menu (refer to the full user manual for specific key sequences) and perform a zero adjustment․

Next, apply a known pressure close to the calibrator’s maximum range (e․g․, 100 psi for the 100G model)․ Compare this applied pressure to the 719’s reading․ If there’s a discrepancy, execute a span adjustment within the calibration menu․ This corrects any gain errors․
Proper zeroing and spanning are crucial for maintaining the 719’s stated accuracy (0․025% or 0․035% depending on calibration interval)․ Regularly check and adjust these parameters, especially after transport or significant temperature changes, to guarantee reliable calibration results․
Maintenance and Troubleshooting
Routine maintenance includes checking connections and the test hose․ Common errors involve pressure sensor input issues; consult the manual for solutions․
Routine Maintenance Tasks
To ensure optimal performance and longevity of your Fluke 719 100G Pressure Calibrator, regular maintenance is crucial․ Begin by visually inspecting all connections – the test leads, alligator clips, and the translucent test hose – for any signs of damage or wear․ Ensure these are securely fastened to prevent inaccurate readings․ Periodically check the pressure sensor input for cleanliness; a clean sensor contributes to accurate measurements․
The internal electric pump requires no routine servicing, but it’s good practice to observe its operation during use․ Listen for any unusual noises that might indicate a potential issue․ Regularly review the calibration frequency, aiming for a 6-month calibration for maximum accuracy, or a 1-year calibration if less precision is required․ Keep the unit stored in a clean, dry environment when not in use, protecting it from dust and extreme temperatures․ Refer to the product overview manual for detailed cleaning instructions․
Common Error Messages and Solutions
While the Fluke 719 100G is designed for reliability, occasional error messages may appear․ If encountering issues with the pressure sensor input, verify the correct model and range are selected, ensuring compatibility with the connected device․ Inaccurate readings could stem from a need for recalibration – a 6-month interval is recommended for optimal accuracy, extending to a year if less precision is acceptable․
If the calibrator fails to power on, check the power source and ensure the connections are secure․ Unusual pump behavior, like excessive noise, may indicate a potential internal issue requiring professional attention․ Always consult the user’s manual (available on CD-ROM in 14 languages) for a comprehensive list of error codes and their corresponding solutions․ Remember to review the manual supplement (2008-2014) for updates regarding pressure sensor input tables and DC mA measurement ranges, as changes were implemented in Change 1 (48042 and 49682)․
Calibration Frequency and Standards
Maintaining accuracy with the Fluke 719 100G requires adherence to a regular calibration schedule․ The recommended calibration frequency is every six months to ensure measurements remain within the specified accuracy of 0․025% of range for the 30G model, and similar precision for the 100G․ Extending this interval to one year is permissible, but accuracy may decrease to 0․035% of range․
Calibration standards should be traceable to national or international standards, such as NIST (National Institute of Standards and Technology)․ The Fluke 719 is designed for calibrating pressure transmitters and gauges, demanding a controlled environment and qualified personnel․ Refer to the product overview manual (printed version included) and the comprehensive user manual (CD-ROM, available in 14 languages) for detailed procedures and best practices․ Remember to check for manual supplements (2008-2014, Change 1 ‒ 48042 & 49682) for updated information regarding accuracy specifications․

Accessories and Compatibility

The Fluke 719 100G includes TL75 leads, AC72 clips, connectors, a translucent hose, a product manual, and a user manual on CD-ROM․
Included Accessories
The Fluke 719 100G Electric Pressure Calibrator arrives with a comprehensive set of accessories designed to facilitate immediate and effective use․ Key components include the TL75 test leads, providing reliable connections for various measurement points․ An AC72 alligator clip set is also provided, offering convenient attachment to test subjects․
Furthermore, the package contains a selection of push-fit connectors, ensuring compatibility with a wide range of pressure fittings․ A translucent test hose allows for visual inspection of fluids during operation․ Crucially, a printed product overview manual is included for quick reference, alongside a detailed users manual accessible on a CD-ROM, available in 14 different languages․ These accessories collectively enhance the calibrator’s usability and versatility, catering to diverse calibration needs․
Compatible Pressure Sensors
The Fluke 719 100G is designed for broad compatibility with a variety of pressure sensors and transmitters․ Specifically, the 100G model is optimized for use with devices measuring pressures up to 100 PSI (approximately 7 bar)․ It’s particularly well-suited for calibrating P/I transmitters, commonly found in industrial process control applications․
The manual supplement details a specific Pressure Sensor Input model, capable of handling a range of -12 to 30․0 psi, offering a resolution of 0․001․ Accuracy is specified at 0․025% of range with a 6-month calibration interval, or 0․035% of range with a 1-year calibration․ The calibrator can also handle non-destructive pressures up to 30G․ While not exhaustive, this information highlights the 719’s ability to interface with a significant range of industry-standard pressure sensing technologies․
Optional Accessories
While the Fluke 719 100G includes essential accessories for immediate use, expanding its capabilities is possible with optional additions․ The standard kit comes with TL75 test leads, an AC72 alligator clip set, push-fit connectors, and a translucent test hose – providing a solid foundation for many calibration tasks․
However, depending on specific application needs, users may benefit from purchasing additional adapters for various pressure fittings․ These aren’t explicitly listed in the provided documentation but are commonly available for Fluke calibrators․ Furthermore, specialized carrying cases offer enhanced protection during transport and storage․ Consider exploring Fluke’s website or contacting a distributor to discover the full range of compatible accessories designed to optimize the performance and versatility of your 719 100G pressure calibrator․